Trezor.io/start: Your Secure Launchpad to Self‑Custody Crypto
From unboxing to managing assets — here’s how to safely walk through the official setup gateway for your Trezor hardware wallet.
What Is Trezor.io/start — and Why It Matters
Trezor.io/start is the *official* endpoint provided by SatoshiLabs, intended to lead you through the entire first-time setup of your Trezor device in a secure and guided way. It ensures that you’re downloading authentic software, updating firmware safely, and configuring your wallet properly — without falling prey to scams.
Because hardware wallets connect the offline world of private keys to the digital world, the setup steps are critical. Trezor.io/start is that bridge — designed to reduce confusion and guide you step by step.
🔐 Why You Should Always Begin Here
Using Trezor.io/start gives you:
- Official downloads of **Trezor Suite** (desktop/web) — no fake or altered versions
- Firmware checks and updates built into the flow
- Security checks like authenticity verification
- Step‑by‑step instructions even for beginners
In contrast, random sites or downloads may lead to malware or phishing attacks. Always confirm the domain is exact (trezor.io/start) and encrypted (HTTPS).
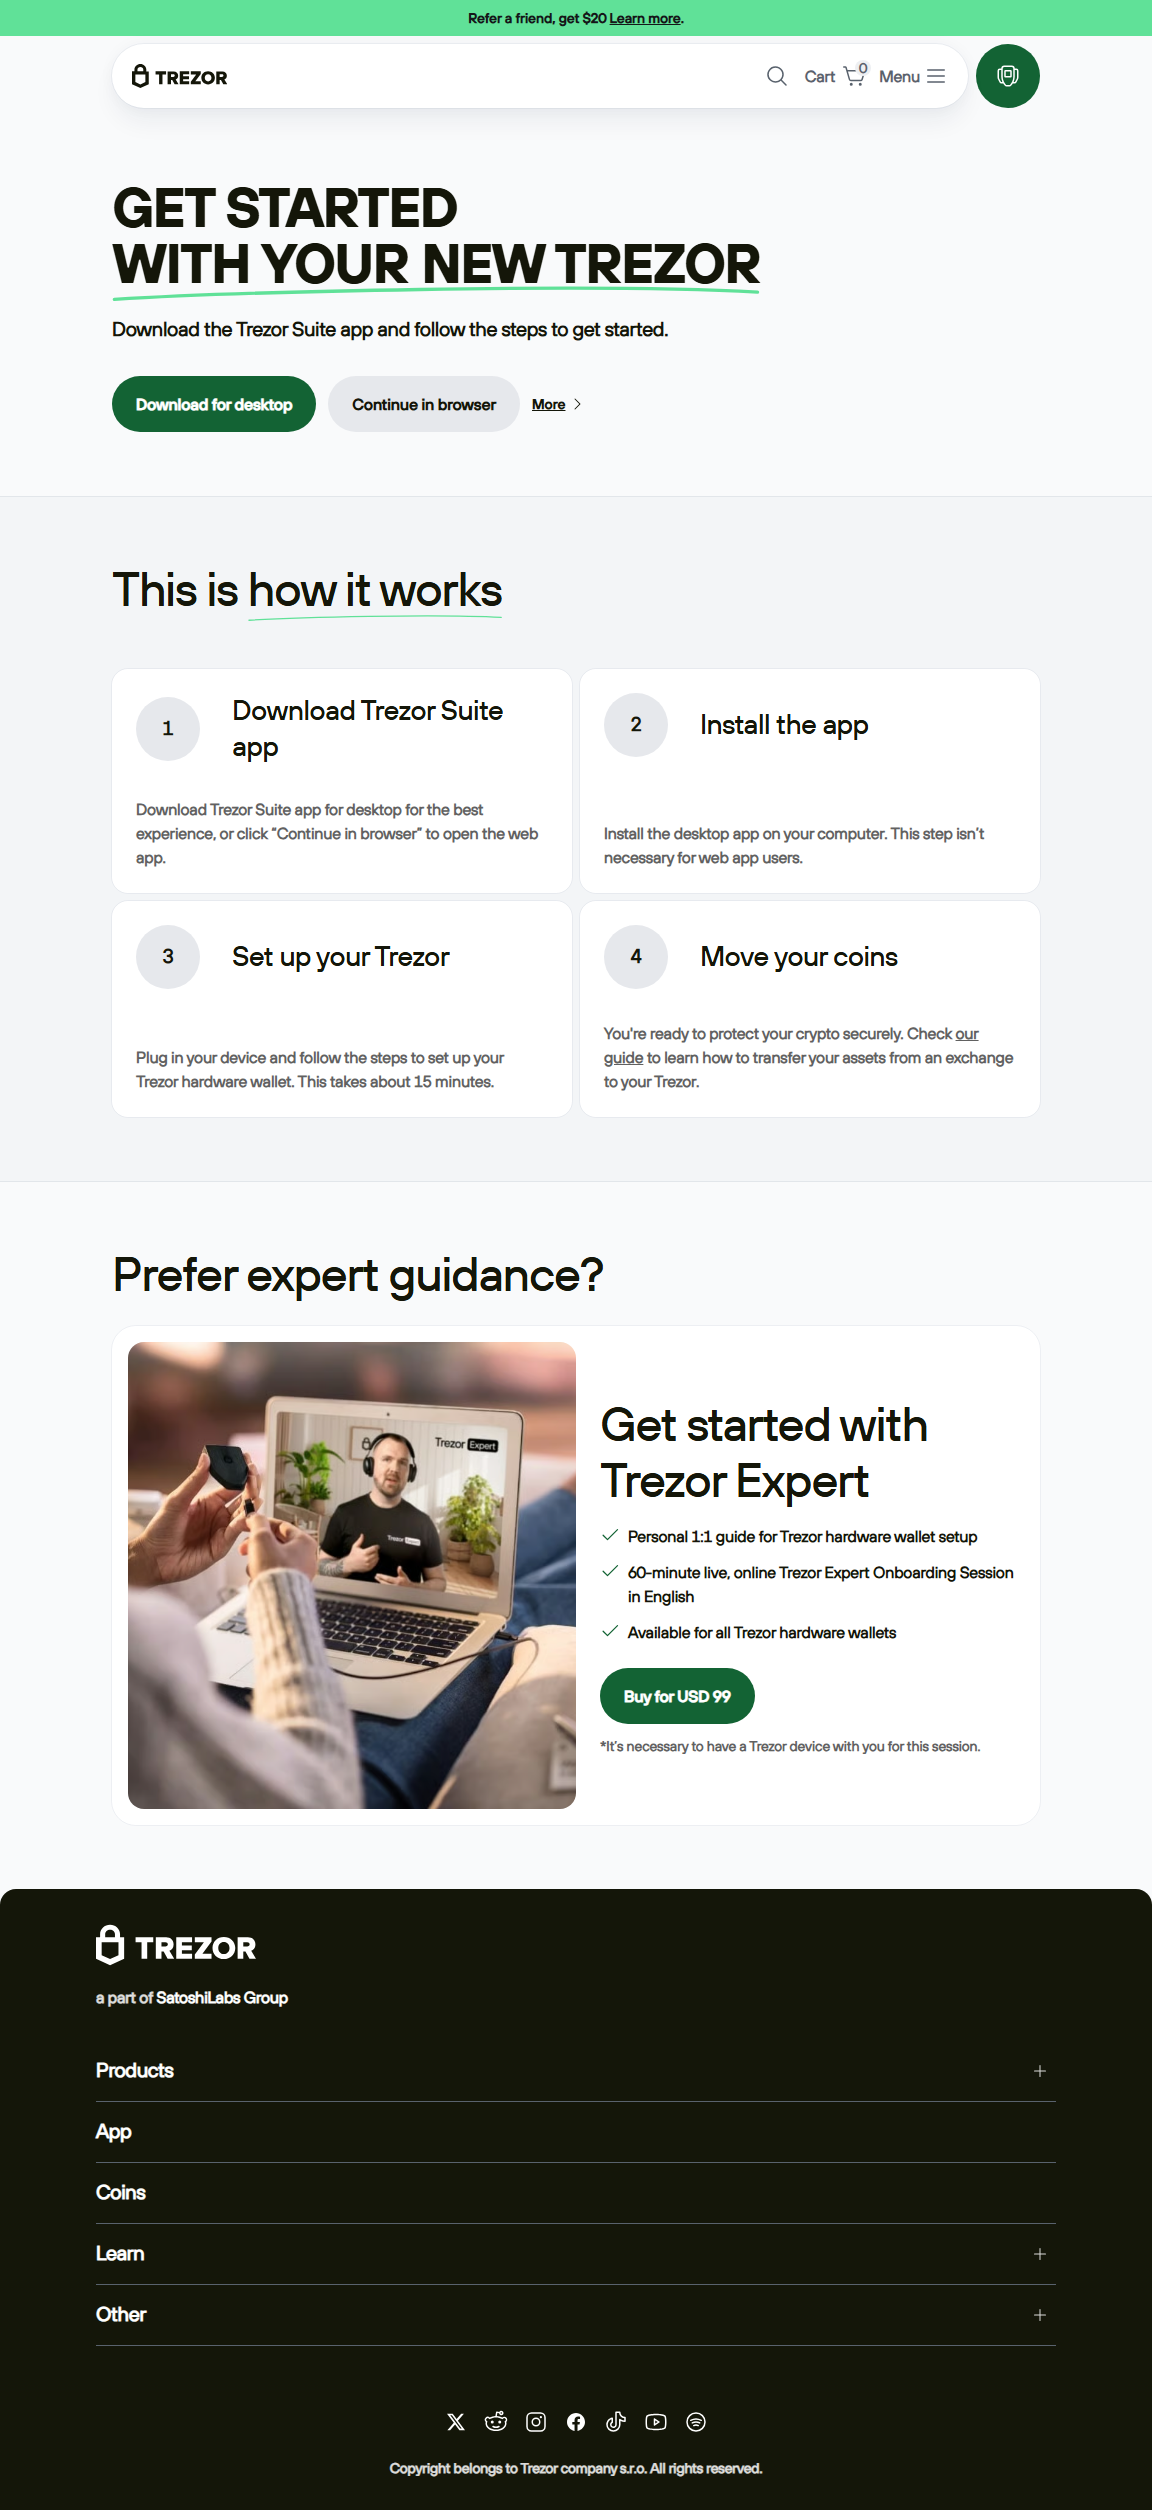
Step‑by‑Step: Setting Up via Trezor.io/start
Step 1: Visit the Official Setup Page
Type trezor.io/start into your browser’s address bar (not via a search engine). Verify the URL is exact and shows the padlock icon. This is your secure gateway into the process.
Step 2: Download Trezor Suite
The page will suggest you download Trezor Suite — the official application for managing your Trezor wallet. There’s often an option to “Continue in browser” if you prefer the web version.
Step 3: Install & Open the Application
Run the installer. Once opened, the Suite will guide you whether to “Set up new device,” “Recover wallet,” or “Connect an existing device.”
Step 4: Connect Your Trezor Device
- Plug your Trezor (Model One, Model T, or supported model) into the USB port.
- If you see firmware isn’t installed or is outdated, Suite will prompt you to update.
- Follow the on‑device prompts to verify authenticity and install firmware securely.
Step 5: Create or Recover Your Wallet
- Create new wallet: You will generate a recovery seed (12, 18, or 24 words depending on settings).
- Recover wallet: Enter your existing seed phrase to restore your setup.
Step 6: Backup Your Recovery Seed
You’ll see your seed words appear one by one. Write them down offline (on paper or metal), double-check each word, and never store them digitally or share them.
Step 7: Set Your PIN and Optional Passphrase
Choose a unique PIN to lock your device. Optionally, enable a passphrase (an extra word) for an added layer of security. With passphrase, unauthorized users cannot access your accounts even if they have your seed.
⚠️ Key Security Warnings
- Never type your recovery seed into any website or app — including during “login” phases.
- Trezor (or anyone) will never ask you for your seed. If asked, it's a scam.
- Don’t use public computers or suspicious networks during setup.
- Always confirm device authenticity and firmware integrity — a counterfeit device may show a warning.
After Setup: What You Can Do Next
Once your Trezor is initialized and connected, Trezor Suite gives you several tools:
- Send and receive cryptocurrencies (Bitcoin, Ethereum, etc.)
- Monitor your portfolio and asset values
- Connect your wallet to Web3 apps (Uniswap, DeFi) — with on-device transaction confirmation
- Use features like passphrase accounts, coin control, or privacy tools if supported
🛡️ Why This Setup Flow Keeps You Safe
By design, Trezor’s setup flow ensures:
• **Private keys never leave the device** — all signing happens internally.
• **Firmware is verified** to resist tampered or malicious software.
• **User confirmation** on every transaction — even if your computer is compromised.
Troubleshooting & Real‑World Tips
“Device not recognized / stuck at ‘connect’”
Try a different USB cable or port, ensure firmware is updated, and avoid running multiple wallet apps simultaneously. Some users report this happens when switching browsers or using bridge software. :contentReference[oaicite:0]{index=0}
“Return to Trezor.io/start” message appears on device
This often indicates the firmware is missing or needs reinstalling. Use Trezor Suite to recover with your seed after installing firmware. :contentReference[oaicite:1]{index=1}
“I see the device, but nothing happens after clicking connect”
Some users suggest switching to the desktop Suite instead of browser mode. :contentReference[oaicite:2]{index=2}
Firmware update errors or “not genuine” warning
Double-check that you're using the official app and not a fake version. Use supplied firmware update only via Trezor Suite. Counterfeit or altered devices may fail authenticity checks. :contentReference[oaicite:3]{index=3}
Final Thoughts
Trezor.io/start isn’t just a setup page — it’s your trusted companion for turning a hardware device into a powerful crypto vault. By following its flow — firmware verification, seed backup, PIN/passphrase setup — you're creating a security foundation few can compromise.
Take your time. Validate each step. Trust the device. Never share your seed. With this approach, you move from crypto novice to empowered self-custodian — with full control and minimal risk.
Your keys. Your device. Your control. All starts at Trezor.io/start.